How to Repair Damaged Short Nails After Gel or Acrylic Removal: A 14-Day Recovery Plan
Learning how to repair damaged short nails after gel or acrylic removal starts with calming down stripped, dehydrated keratin layers before they split any further. If you just soaked off an old manicure—or gave in and peeled up a lifting corner—and your fingertips now feel paper-thin, tender to warm water, and covered in chalky white patches, take a breath. You have not ruined your nails forever, and you do not need harsh chemical hardeners to fix them.
In my salon chair, post-removal damage is the number-one reason women give up on growing their natural tips. Most clients assume the gel or acrylic product itself “melted” their nail plate. What actually causes thin, bendy tips is a mix of aggressive electric e-file prepping, prying off partially cured product, and soaking bare nails in pure acetone for twenty minutes straight. When those top dorsal keratin cells get ripped away, the softer intermediate layers underneath are left completely exposed to soap, water, and daily friction.
Because short nails have very little free edge to absorb everyday impact, they need a targeted recovery approach rather than a generic drugstore strengthener. Below is the exact 14-day recovery plan I give my own clients to rebuild flexibility, stop painful horizontal peeling, and get compact nail beds healthy again.
Why Do Short Nails Feel Paper-Thin and Sore After Gel or Acrylics?
Your natural fingernail is made up of roughly 50 to 100 tightly packed layers of dead keratin protein held together by natural lipids and moisture. When a manicure goes wrong during prep or removal, three distinct types of structural damage show up on short nail beds:
- Dorsal Layer Stripping (Chalky White Spots): Whenever you pry off lifting gel polish or extra short press on nails without dissolving the adhesive bond first, the glue pulls the top three to five layers of your own nail plate right off with it.
- Over-Filing “Rings of Fire”: Those curved red or deep-pink crescents near the base of your nail happen when a coarse sanding band files too deeply into the natural plate near the cuticle. Because the nail plate is thinner there, the blood vessels in your nail bed show through and feel sensitive to touch or heat.
- Acetone Lipid Depletion: Pure acetone is a powerful solvent, not a conditioner. It flushes out the natural oils that act like flexible mortar between your keratin cells, leaving the plate brittle and prone to flaking at the corners.
If your nails were already fragile before your last salon appointment, pairing this two-week rescue plan with our foundational guide on how to strengthen weak short nails will help you maintain thickness once the damaged spots grow out.
The 14-Day Post-Gel Short Nail Recovery Schedule
Instead of piling five different polishes onto raw, irritated nail beds on day one, divide your recovery into three stages. This schedule gives stripped keratin fibers time to absorb oils and peptides before you seal the surface with a protective coat.
| Recovery Phase | Primary Goal | Daily Morning Routine | Nightly Repair Step |
|---|---|---|---|
| Days 1–3: Calm & Rehydrate | Stop peeling and replenish stripped natural lipids on bare nails. | Apply 1 drop of pure jojoba oil to bare nail plates and seal with ceramide hand cream. | Brush on a penetrating keratin peptide serum, wait 2 minutes, then massage warm jojoba oil into nail folds. |
| Days 4–7: Splint & Shield | Protect paper-thin tips from bending backward during daily tasks. | Apply 2 coats of a breathable, formaldehyde-free ridge filler (on Day 4) and oil the cuticles daily. | Soak fingertips in warm jojoba and squalane oil for 5 minutes to hydrate from the underside of the free edge. |
| Days 8–14: Seal & Reshape | Smooth out micro-snags and lock in new growth at the nail matrix. | Refresh your sheer ridge filler on Day 8 and massage cuticle oil in after washing hands. | Gently bevel sharp side corners with a 240-grit crystal glass file and apply urea cream before bed. |
How to Repair Damaged Short Nails After Gel: 7 Step-by-Step Salon Fixes
1. Trim Free Edges Flush and Switch to a 240-Grit Glass File
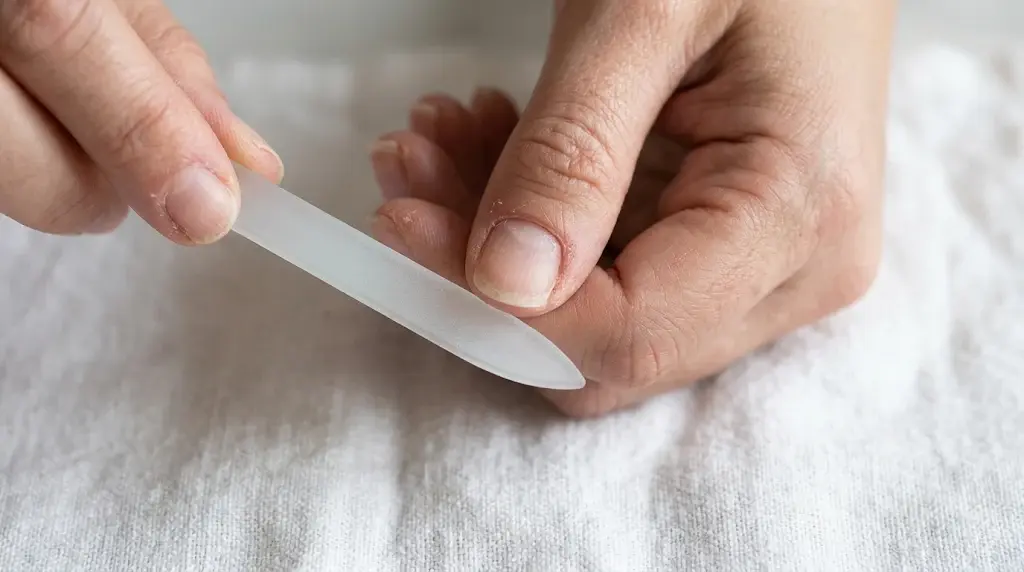
When your nail tips are half their normal thickness, every extra millimeter of length works against you. Thin overhangs bend backward the second you zip a jacket or open a car door, creating deep stress cracks along the side edges.
Clip or file your free edge down until it sits almost flush with your fingertip pad—leaving just half a millimeter of white tip so you do not break the sensitive hyponychium skin underneath. Toss out standard cardboard emery boards, which have coarse 100- to 180-grit grains that shred thin edges like a saw. Use a genuine 240-grit tempered crystal glass file instead, gliding it in one gentle direction from the outer corner toward the center. Once your plate regains its normal thickness next month, you can easily use visual styling tricks from our guide on how to make short nails look longer without needing fragile length right now.
2. Skip the Buffing Block on Red or Tender Nail Beds
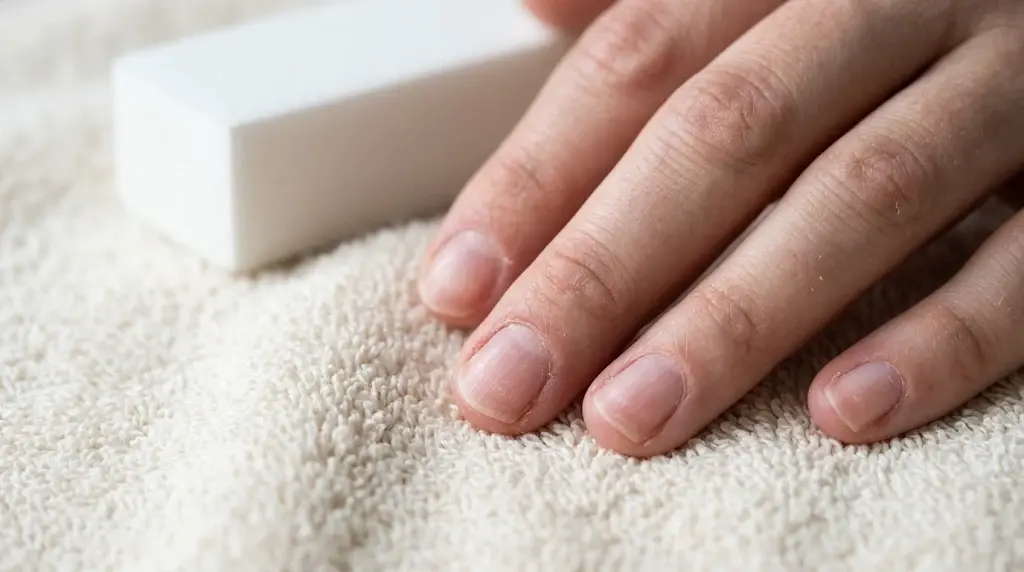
Looking at rough, flaky white patches after gel removal makes almost everyone reach for a four-way buffing block to smooth the surface out. Put the buffer down. Those raised flakes represent the last intact layers of your mid-plate; sanding them flat to match the deepest gouge thins out the entire nail bed.
If a loose flap of keratin is catching on your clothes or hair, clip just the lifted speck with clean nippers or smooth the exact edge lightly with a glass file. Leaving the rest of the plate unbuffed preserves critical thickness over the pink nail bed and stops that throbbing sensation when your hands touch warm water.
3. Apply a Keratin Peptide Treatment on Bare Keratin (Days 1 to 3)
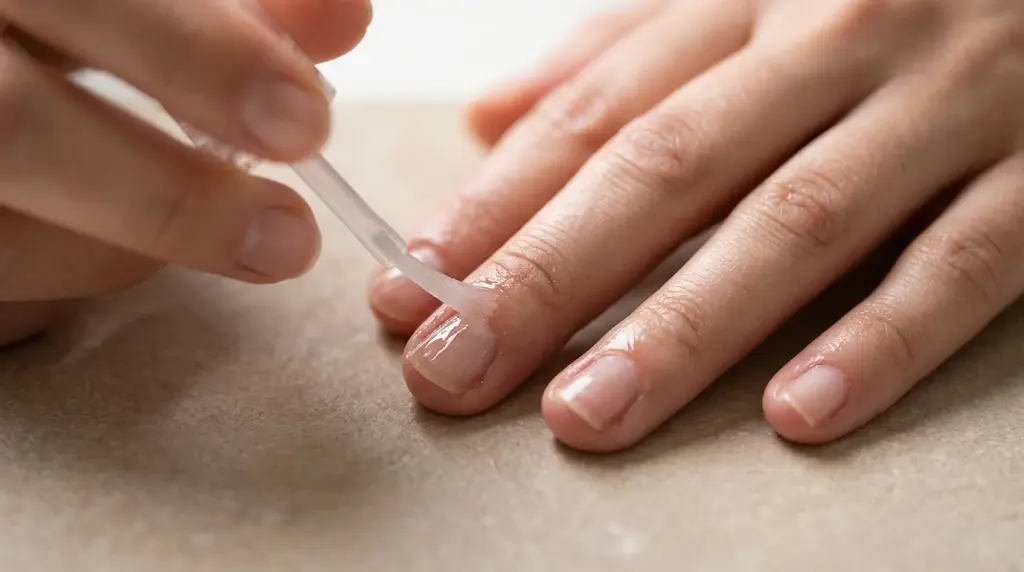
For the first 72 hours after taking off acrylics or builder gel, leave your nails completely free of regular colored polish. Bare, porous keratin is at its highest absorption capacity right after acetone removal, making this the best window for biomimetic repair treatments.
Look for a water- or oil-based keratin peptide serum (such as biomimetic keratin or hydrolyzed plant protein drops) that penetrates into the plate rather than sitting on top like clear lacquer. Brush a thin layer across the bare nail plate and slightly under the tip every night. These tiny amino acid chains bind to frayed keratin fibers and fill microscopic gaps from the inside out without turning the nail stiff or snappy.
4. Do the Warm Jojoba and Squalane Oil Soak Every Night
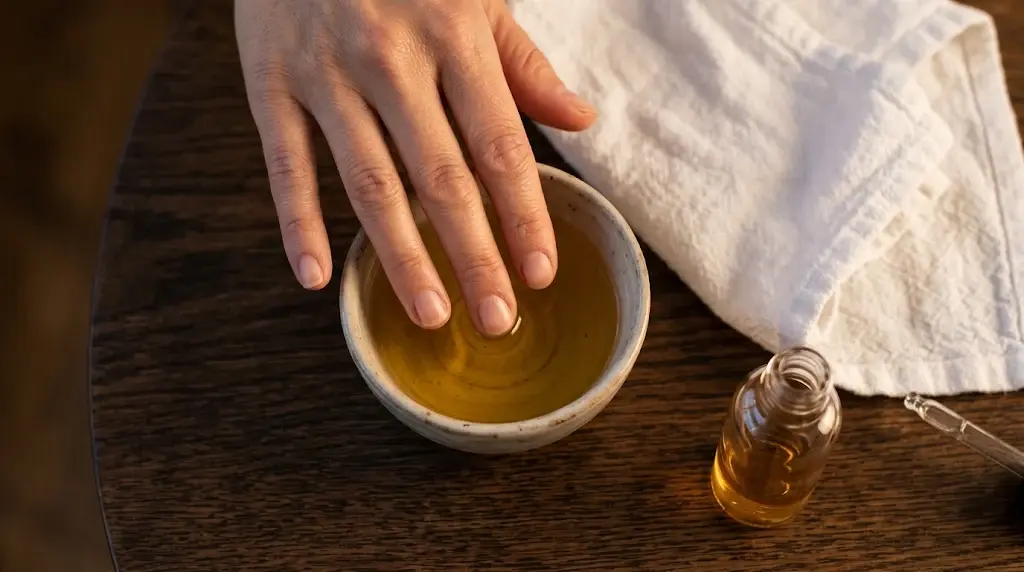
Most heavy lotions and mineral-oil cuticle drops have large molecules that sit on top of your skin for an hour and wash right off at the sink. Jojoba oil is technically a liquid wax ester whose molecular structure closely matches the natural sebum your skin produces, allowing it to slip between dried-out keratin cells.
During the first week of recovery, pour a teaspoon of pure golden jojoba oil mixed with a few drops of olive-derived squalane into a small ceramic dish and warm it in a bowl of hot tap water for thirty seconds. Dip your fingertips in for five minutes while watching TV, then massage the remaining oil into your knuckles and nail folds. Hydrated keratin bends slightly under pressure and bounces back, whereas bone-dry keratin splits horizontally.
5. Seal the Proximal Nail Fold With Ceramide Cream After Washing
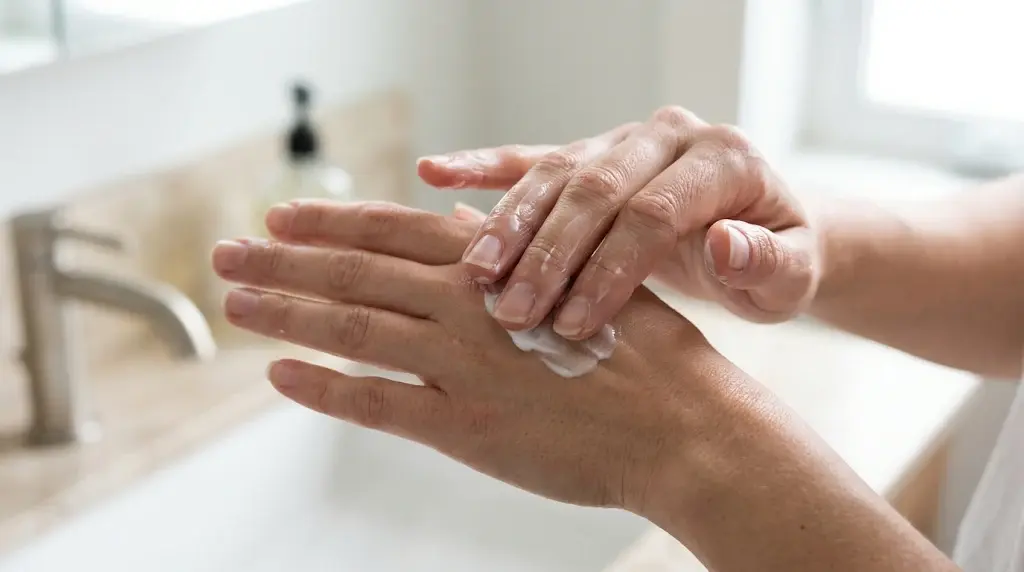
While the damaged tip you see today is already dead keratin, your future healthy nail is actively forming right now inside the nail matrix—tucked just a few millimeters beneath the skin at the base of your finger. If that living skin fold (the proximal nail fold) is raw from acetone or aggressive cuticle nipping, the new nail cells emerging from the matrix can grow out bumpy and ridged.
Never cut the living skin ring around your nail base during recovery. Instead, right after washing your hands while the skin is still slightly damp, massage a pea-sized drop of fragrance-free ceramide or 10% urea hand cream around the base of each finger. Keeping that skin barrier plump and sealed ensures the fresh nail plate growing in behind the damaged zone comes out dense and smooth.
6. Shield Paper-Thin Tips With a Sheer Breathable Ridge Filler on Day 4
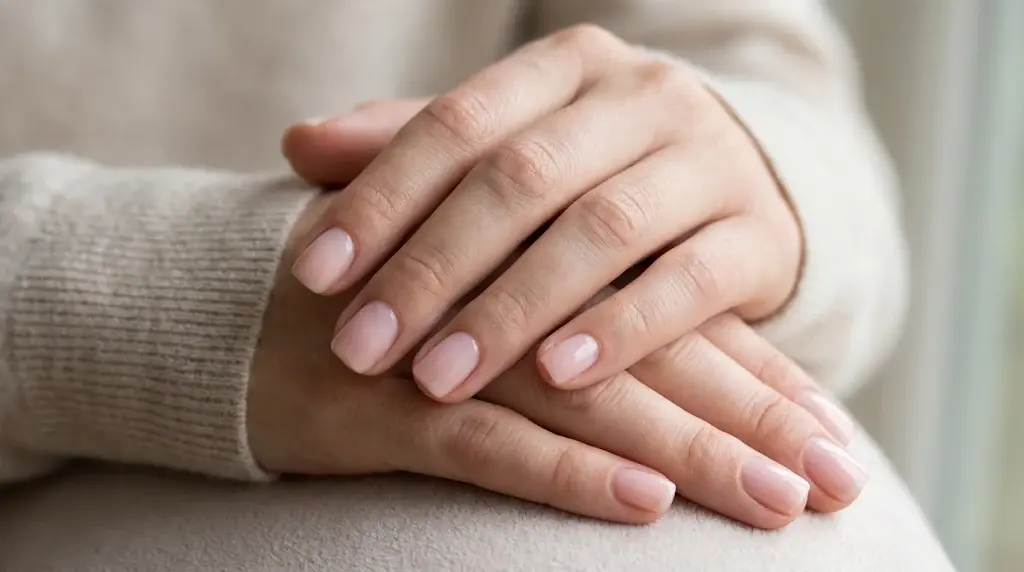
By day four, your bare nails have soaked up three days of intensive oils and peptides, and you can add a physical shield so they stop catching on fabrics. Instead of opaque dark lacquer—which requires more drying remover later—reach for a sheer, milky-pink ridge-filling base coat formulated with conditioning ingredients like vitamin E, panthenol, or horsetail extract.
Wipe the nail surface quickly with a drop of rubbing alcohol on a lint-free pad just before painting so the base coat adheres cleanly, then apply two thin coats, capping the free edge. A milky ridge filler blurs uneven white spots visually while acting like a lightweight splint. Once your nails are fully healed and you are ready for salon looks again, check out our favorite classy short square nail designs and clean micro French tips for short nails that flatter compact hands without heavy product buildup.
7. Block Hot Water Swelling With Cotton-Lined Gloves
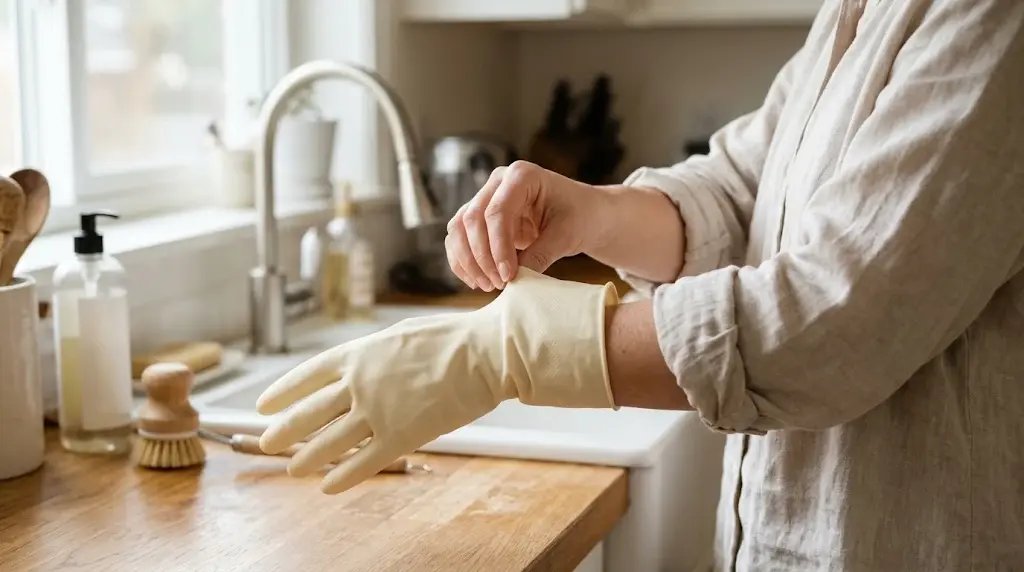
Water is actually harsher on recovering nails than almost anything else in your house. Because porous, post-gel nails absorb up to a quarter of their own weight in water, soaking your hands in hot dishwater forces the entire nail plate to expand. Twenty minutes later, as your hands dry out, the plate contracts—pulling fragile keratin layers apart at the free edge.
Dermatologists at the American Academy of Dermatology consistently emphasize keeping fingernails dry and wearing protective gloves during wet chores to stop brittle splitting. Keep a pair of cotton-lined rubber gloves draped over your kitchen faucet and wear them every single time you wash dishes, wipe counters with household sprays, or shampoo pets.
3 Post-Gel Recovery Mistakes That Make Peeling Worse
When you want your nails to look neat for work or an event right away, it is tempting to look for an overnight shortcut. Avoid these three common habits while your nail plate is still thin:
- Using Formaldehyde or Formalin Hardeners on Raw Nails: Traditional “rock-hard” nail strengtheners work by cross-linking keratin fibers so tightly that the nail loses all natural flex. On a paper-thin post-acrylic nail, formaldehyde can cause painful nail-bed burning, onycholysis (lifting of the nail plate from the pink bed), and severe snapping along the stress line.
- Applying New Gel or Acrylic Extensions Over Red “Rings of Fire”: Covering thinned, over-filed nail beds with fresh monomer or hard builder gel traps heat during curing and weakens adhesion. Wait until the sensitive pink crescents have grown out past the halfway mark, and review our guide on how to stop gel polish from peeling on short nails so your next manicure comes off cleanly without scraping.
- Using Metal Cuticle Pushers to Scrape Under the Free Edge: Digging beneath a short, damaged nail with a sharp metal tool pushes back the delicate skin seal under your tip (the hyponychium), making your nail beds look shorter and inviting bacteria in. Clean under short nails using only a soft nylon nail brush and gentle hand soap.
When Is It Safe to Wear Gel or Extensions Again?
A fingernail grows roughly 3 millimeters per month—about the thickness of two stacked nickels. If your damage is limited to light surface chalkiness from a rushed soak-off, two weeks of daily jojoba oiling, peptide serum, and a sheer ridge filler is usually enough before applying a gentle manicure or natural short nail extensions and soft gel tips.
However, if your nails have deep red grooves from an electric drill, feel sore when pressing keyboard keys, or bend like wet paper, give them 4 to 6 weeks of gel-free care. Sticking to sheer conditioning bases and soft squoval filing for one full month lets the thickest, healthiest part of your new nail plate reach the center stress zone before it ever sees a UV lamp again.
Frequently Asked Questions (FAQ)
How long does it take for short nails to recover after gel or acrylics?
Surface dryness and flaky white spots noticeably improve within 7 to 14 days of daily jojoba oil soaks and keratin peptide treatments. If the nail plate was severely thinned down by an electric file, replacing the entire nail plate from the cuticle base to the free edge takes about 3 to 4 months.
What can I put on paper-thin nails that hurt after gel removal?
Keep sore, over-filed nails bare for the first 72 hours and apply only pure jojoba oil, vitamin E, and a fragrance-free ceramide cream to calm the nail bed. Avoid alcohol-heavy polishes, acetone removers, and formaldehyde strengtheners until the heat sensitivity fades.
Should I keep my nails completely bare or wear clear polish while they heal?
Leave them bare for the first three days so penetrating oils and amino acid serums can soak directly into the porous keratin. Starting on day four, applying two coats of a breathable, formaldehyde-free ridge filler helps shield thin tips from water and mechanical bending.
Why do my nails keep peeling in layers weeks after removing gel polish?
Ongoing peeling happens when lifted microscopic keratin flakes catch on water and fabrics, pulling the split further back toward the cuticle. Rounding your corners with a 240-grit crystal glass file and wearing dish gloves stops the swelling cycle so the peeled edge grows out cleanly.
