How to Stop Gel Polish From Peeling on Short Nails: 7 Pro Prep Secrets
Few manicure frustrations compare to spending an hour curing a fresh set, only to deal with gel polish peeling on short nails two days later. While gel lacquer is famous for lasting up to three weeks, short natural nail beds present unique structural challenges. Specifically, compact free edges and flexible nail plates make standard gel formulas lift in whole sheets.
Fortunately, premature lifting rarely happens because of a bad polish brand. Instead, it almost always comes down to invisible moisture, trapped cuticle skin, or unsealed tips. Furthermore, once you master salon-grade nail preparation, your manicure will easily survive daily typing, dishwashing, and gym workouts. In fact, proper prep is also the foundation for every look in our guide on how to make short nails look longer.
Below, we break down the exact science behind gel polish peeling on short nails. Additionally, we share 7 foolproof salon prep secrets to lock your gel manicure in place for 21+ chip-free days.
Why Does Gel Polish Peel Faster on Short Nails?
Before fixing the problem, you need to identify where the lifting starts on your hands. Generally, gel failure happens in two distinct zones:
- Free-Edge Tip Chipping: Short nails sit flush against your fingertips. As a result, the front edge absorbs constant friction whenever you type, text, or open packages. Moreover, it is much harder to wrap gel around a very short tip without touching your skin.
- Cuticle & Sidewall Lifting: If your gel peels upward from the base like a sticker, natural oils or invisible dead skin blocked the gel from bonding to your nail plate.
7 Salon Secrets to Stop Gel Polish Peeling on Short Nails
1. Switch to a 100% Dry Manicure Prep
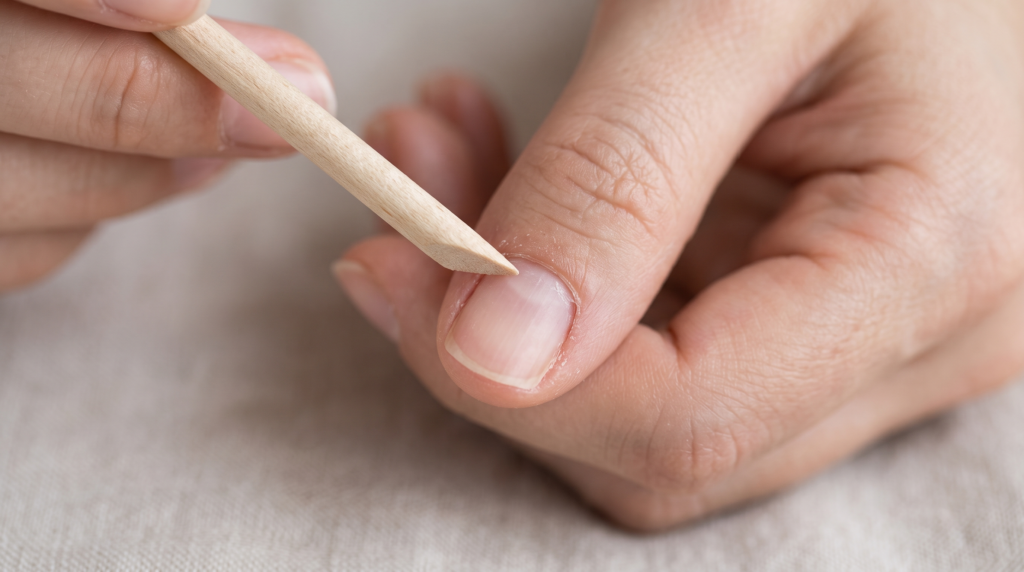
Traditional manicures begin with a warm water hand soak. However, soaking your hands before applying gel is the number one mistake DIYers make. Because natural nail plates act like tiny sponges, they absorb water and expand by up to 25% of their volume.
- Why it causes peeling: If you cure rigid gel over a water-swollen nail, the natural nail plate shrinks back to its normal size within hours. Consequently, the nail pulls away from the hardened gel layer and causes immediate lifting.
- How to do it right: Perform a completely dry prep instead. First, push back your cuticles gently with an orangewood stick. Next, wait at least 60 minutes after showering or washing dishes before starting your gel routine.
2. Scrape Away the Invisible True Cuticle
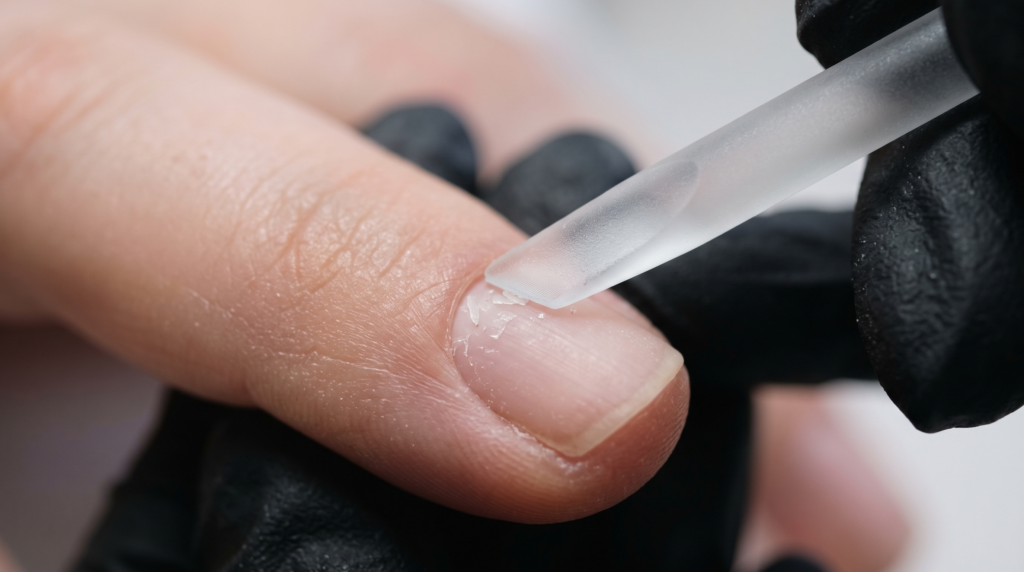
Pushing back the visible fold of skin at the base of your nail is only half the battle. Underneath that fold sits a thin, transparent layer of dead skin cells called the true cuticle. Furthermore, this invisible membrane clings stubbornly to the bottom third of your nail plate.
- Why it causes peeling: Gel polish can only bond to pure keratin. Therefore, if you paint over even a microscopic layer of dead skin, the gel will lift from the base within 48 hours.
- How to do it right: Use a precision glass cuticle pusher or a fine metal curette tool held flat against the nail. Gently scrape away the chalky white residue along the base and sidewalls until the nail plate looks completely smooth.
3. Etch the Surface with a 180-Grit Sponge Buffer
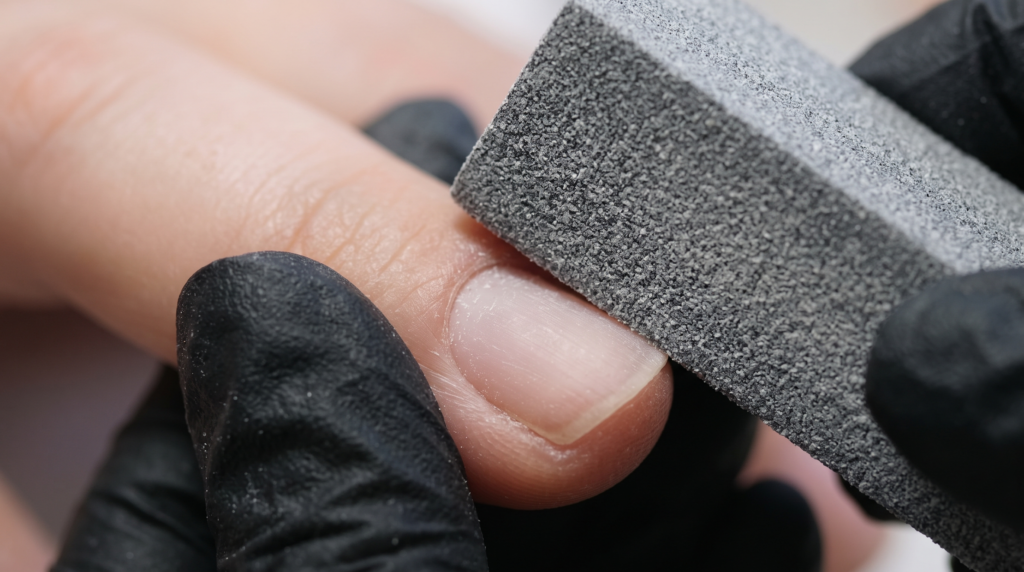
Natural nails produce a smooth, shiny lipid layer that repels gel adhesive. On the other hand, aggressive filing with a coarse 100-grit board thins out short nails and makes them bend and peel even faster.
- Why it works on short nails: A gentle 180-grit to 220-grit sponge buffer removes surface shine while creating microscopic grooves for your base coat to grip.
- Pro Tip: Buff strictly in one direction across the nail plate using feather-light pressure. Specifically, focus on the curved outer sidewalls and the cuticle arc where lifting usually begins.
4. Double-Dehydrate with 90% Isopropyl Alcohol
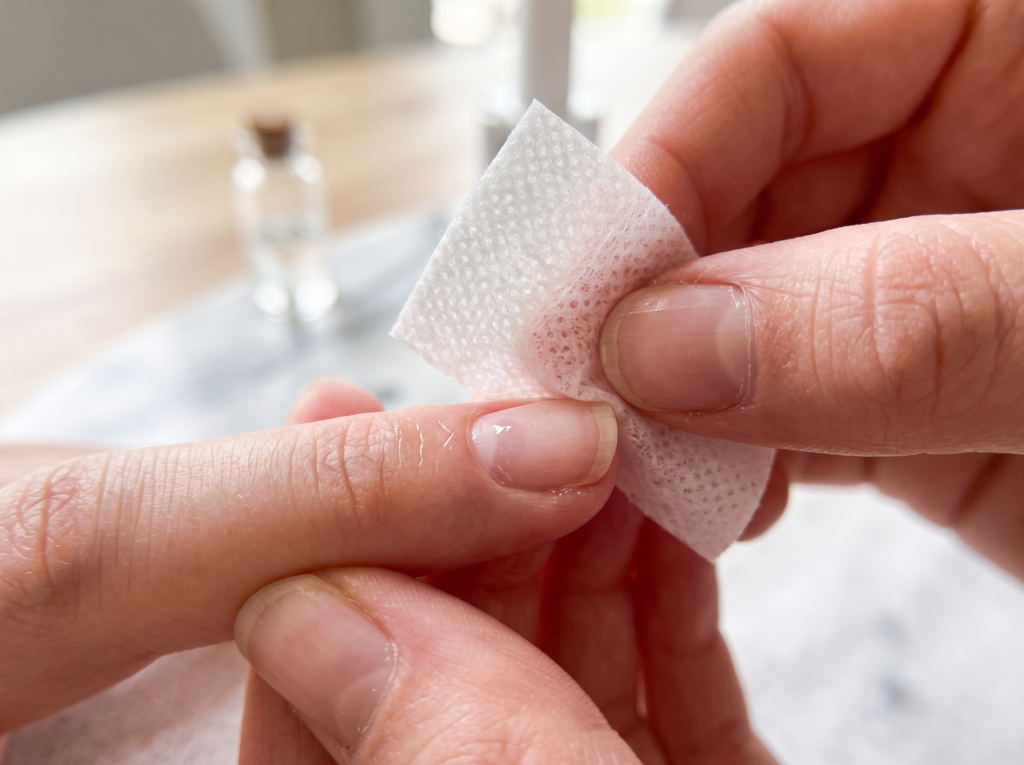
After buffing, fine keratin dust settles into the lateral nail folds. If you use standard 70% rubbing alcohol or nail polish remover containing moisturizing oils, a greasy film remains on the nail surface.
- Why it works on short nails: Using 90% to 99% pure isopropyl alcohol (or a dedicated nail dehydrator) instantly evaporates surface moisture and natural finger oils.
- DIY tip: Scrub each nail thoroughly with a lint-free wipe soaked in 90% alcohol. Afterward, do not touch your hair, face, or phone screen, as skin oils transfer back onto the nail plate in seconds.
5. Apply Acid-Free Bonder at the Free Edge
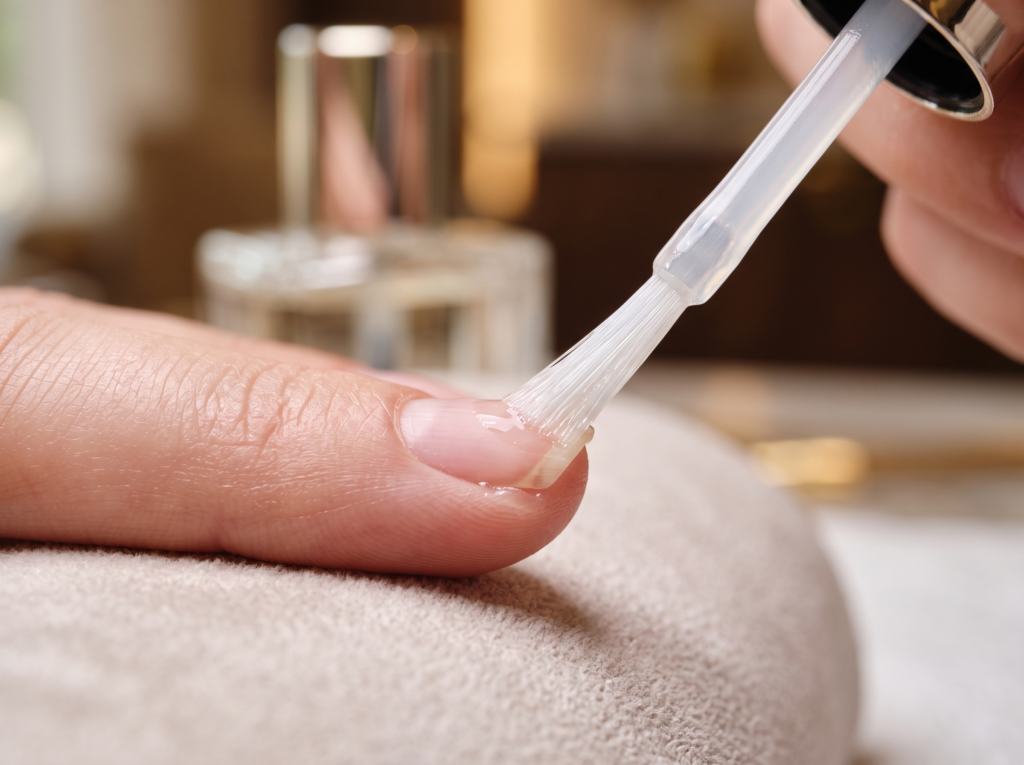
Once your nails are chalky-dry, a dedicated acid-free nail primer (bonder) acts like double-sided tape between your natural keratin and your gel base coat. Unlike harsh methacrylic acid primers, acid-free formulas never burn skin or damage natural nails.
- Why it stops peeling: It creates a covalent chemical link that prevents gel polish peeling on short nails even during heavy daily wear.
- How to apply it: Wipe your primer brush almost dry on the bottle neck. Then, dab a whisper-thin layer strictly along the front free edge and the center of the nail plate, avoiding the skin completely.
6. Use a Flexible Rubber Base or BIAB on Soft Nails
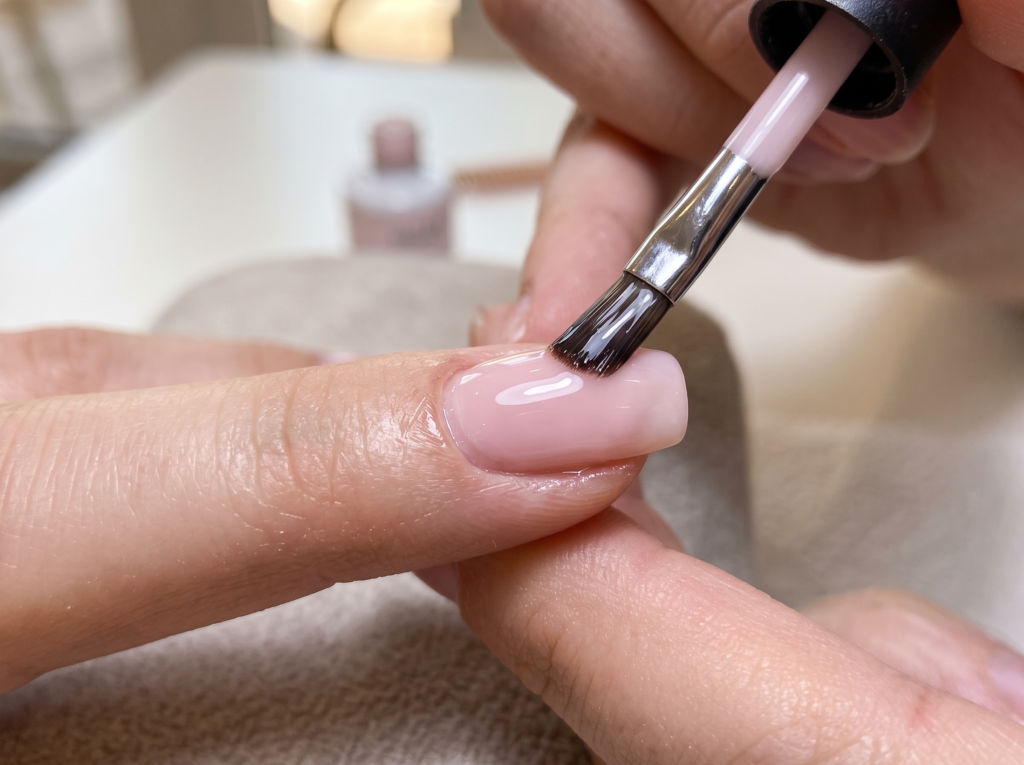
Short natural nails are often thin and bendable at the tips. Meanwhile, traditional gel base coats cure into a hard, inflexible shell. When your natural nail bends while typing or unbuttoning jeans, the rigid gel cracks and pops right off.
- Why it works on short nails: Switching to a flexible rubber base coat or a soft builder gel in a bottle (BIAB) allows the gel layer to flex in harmony with your natural nail bed.
- Bonus styling perk: A sheer milky-pink BIAB base also creates the ideal canvas for minimalist art, such as the looks in our tutorial on how to do French tips on short nails at home.
7. Master the “Skin-Pull” Trick to Cap Short Tips
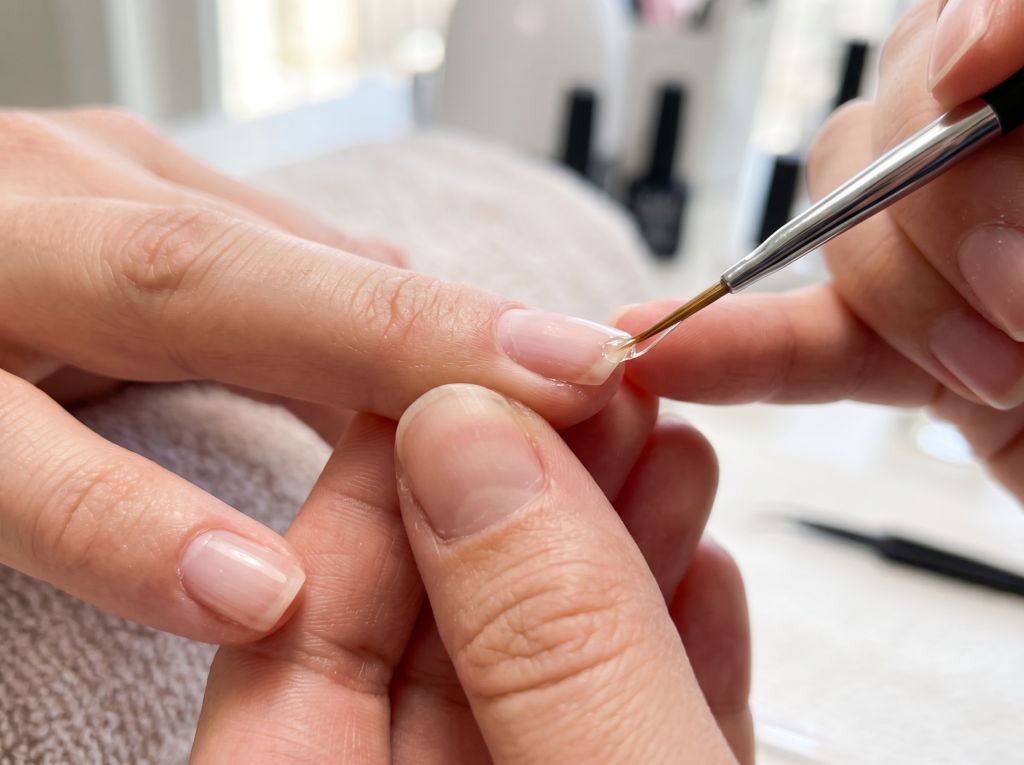
Every manicurist tells you to “cap the free edge,” which means swiping polish horizontally across the front thickness of your nail tip. However, on very short nails, the fingertip skin sits right up against the edge, making it easy to smear gel onto your skin.
- Why touching skin ruins retention: Any gel cured onto your skin creates a tiny ledge. Within two days, water seeps under that ledge and peels the entire manicure off.
- The Skin-Pull Hack: Before painting your tip, use your thumb to pull the fleshy pad of your fingertip firmly downward away from the nail edge. Next, lightly tap the side of a fine liner brush across the raw edge of the nail. Finally, clean any accidental skin smudges with an acetone-dipped angled brush before curing under your LED lamp.
3 Curing & Aftercare Rules for a 3-Week Manicure
Even with flawless prep, how you cure and maintain your manicure determines how long it lasts. Therefore, keep these three rules in mind when wearing seasonal shades like our short winter nails or short Christmas French tip nails:
- Paint Whisper-Thin Coats: Thick, gloopy gel coats wrinkle under the lamp and stay uncured in the middle. Specifically, dark pigments—like the shades in our short black cherry nails guide—need three ultra-thin coats rather than two thick ones so UV light can penetrate fully.
- Leave a 0.5mm Cuticle Margin: Never push gel all the way up against the proximal nail fold. Leaving a hairline gap around the perimeter ensures the gel bonds strictly to the nail plate.
- Oil Your Cuticles Daily After Curing: While oil is the enemy before painting, it is your best friend once your topcoat is cured. Massaging pure jojoba oil into your nail folds twice daily keeps the underlying nail flexible and prevents corner splits.
Frequently Asked Questions (FAQ)
What is the main cause of gel polish peeling on short nails?
The primary cause of gel polish peeling on short nails is moisture and oil left on the nail plate during prep, combined with uncapped free edges. Additionally, painting gel over the invisible cuticle membrane or touching the surrounding skin causes the entire layer to lift within days.
How do
