Cuticle Care for Short Nail Beds: The Gentle Routine That Reveals Hidden Length
Many women with petite hands assume their nail plates are naturally tiny, when in reality up to two millimeters of healthy keratin are simply hidden beneath overgrown skin. Learning proper cuticle care for short nails is the fastest, healthiest way to uncover that concealed surface area and make compact fingers look noticeably longer without applying a single extension.
However, aggressive salon habits like nipping living skin or scraping the base of the nail with sharp metal tools often backfire. When you injure the delicate seal at the base of your finger, the skin responds by growing back thicker, tougher, and more ragged to protect itself. Below is the exact anatomy-backed routine to soften, push back, and hydrate your cuticles safely at home.
Nail Anatomy 101: The “True Cuticle” vs. The Living Fold
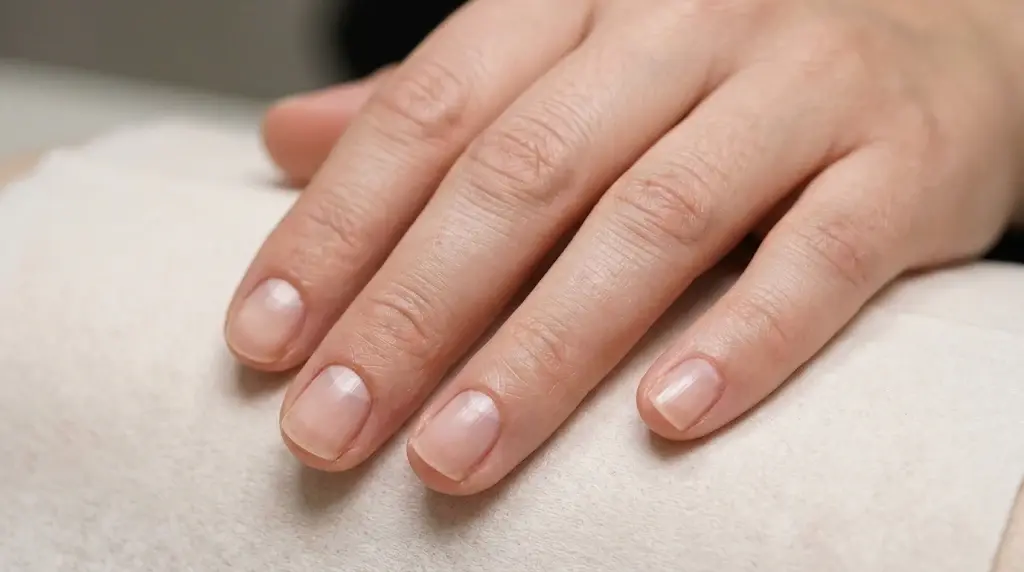
Before touching any manicure tool, you need to distinguish between the two different tissues sitting at the base of your nail plate:
- The Proximal Nail Fold (Eponychium): This is the visible rim of living skin that borders the base of your nail. It acts as a watertight biological seal that stops bacteria, yeast, and water from entering the nail matrix where new cells form.
- The True Cuticle: This is the thin, almost invisible film of dead skin cells shed by the underside of the living fold. As your nail grows forward, it pulls this translucent dead tissue along the plate.
Board-certified dermatologists at the American Academy of Dermatology (AAD) strongly advise against cutting the living proximal fold. Only the dead, non-living true cuticle clinging flat to the hard nail plate should ever be dissolved and swept away.
The 5-Step Gentle Cuticle Care Routine for Short Nails
Perform this maintenance routine once every 7 to 10 days. Pushing cuticles back every single day causes friction trauma, whereas a weekly reset keeps the nail contour crisp and healthy.
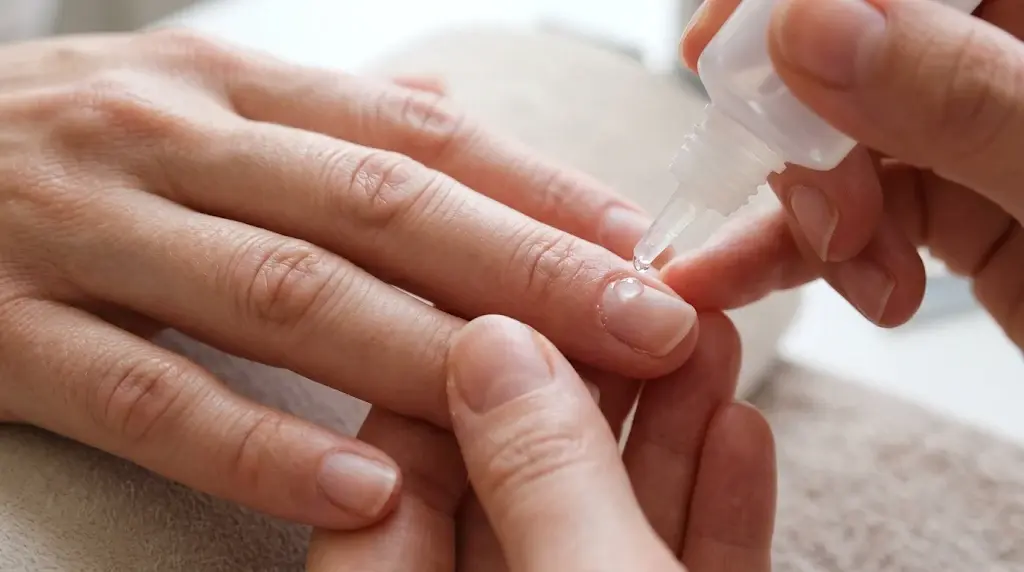
Step 1: Dissolve Dead Tissue with Cuticle Remover (Skip the Water Soak)
Old-fashioned salons soak hands in warm soapy water before cuticle work, but water causes porous keratin layers to swell like a sponge. Instead, work on dry hands and apply one drop of a liquid or gel cuticle remover directly along the base of each nail.
How it works: Formulated with gentle keratolytic ingredients like potassium hydroxide, glycerin, or fruit alpha-hydroxy acids, cuticle removers break down only dead protein bonds on the nail plate in 60 to 90 seconds while leaving living skin unharmed.
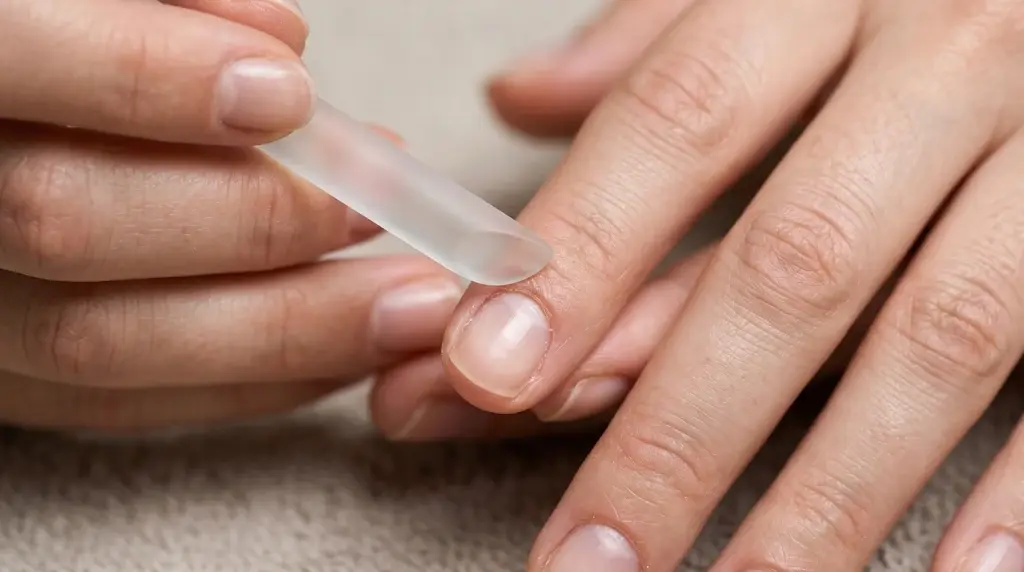
Step 2: Glide Back at a Flat 45-Degree Angle
Once the remover has softened the translucent tissue, take an etched crystal glass cuticle pusher or a clean orangewood stick wrapped in a wisp of cotton. Hold the tool at a low 30-to-45-degree angle nearly flat against the nail plate.
Crucial technique tip: Use tiny circular motions to nudge the softened dead skin toward the proximal fold. Never point your tool straight down at a 90-degree angle; pressing vertically into the base of the nail dents the soft underlying matrix, which creates horizontal dents and ridges as the nail grows out.
Step 3: Wipe Clean and Snip Only Detached Hangnails
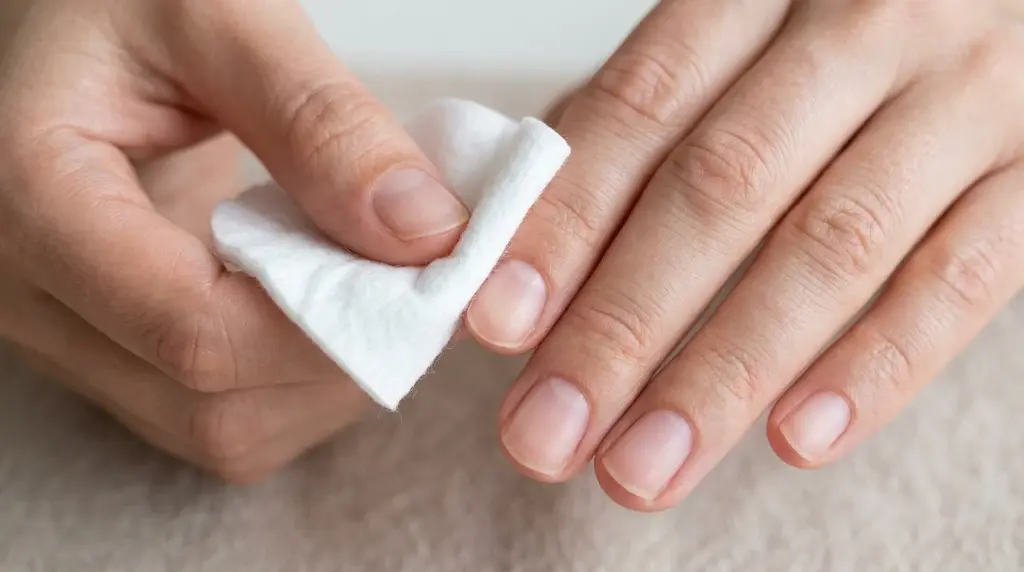
Wrap a lint-free wipe soaked in warm water or micellar solution around your index finger and firmly wipe the nail plate clean to deactivate the cuticle remover. Your living nail fold should remain completely intact and uncut.
If you spot a torn hangnail sticking up on the side wall, sanitize a pair of sharp nippers with 70% isopropyl alcohol and clip only the detached dead tag flush with the surface. Never rip, bite, or pull a hangnail downward. Leaving invisible dead tissue behind is the leading cause of premature lifting, which we cover in detail in our guide on how to stop gel polish from peeling on short nails.
Step 4: Feed the Matrix with Pure Jojoba Oil
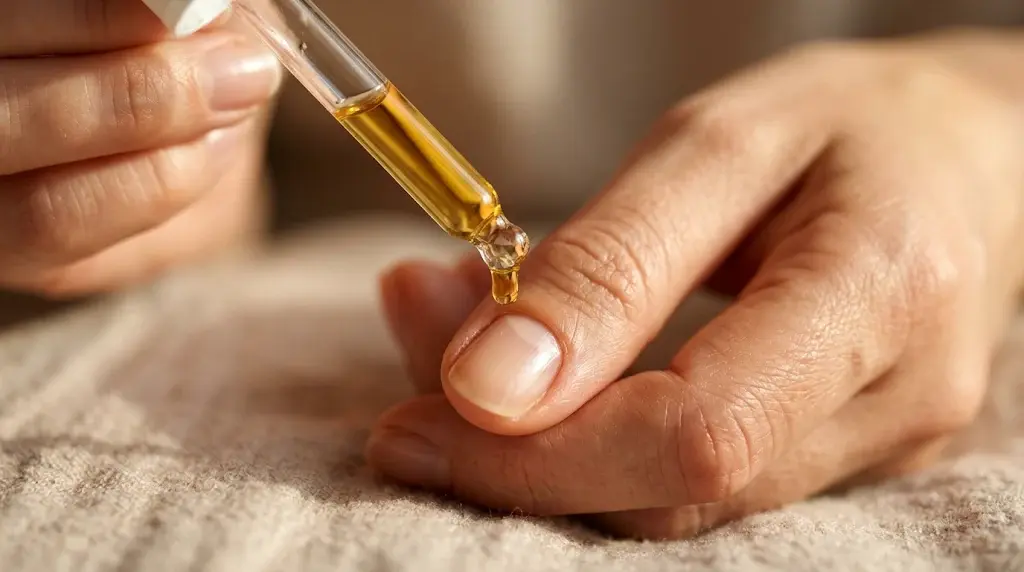
If you are painting your nails immediately, wait until after your topcoat is dry or cured before applying oil. For bare nails or post-manicure care, massage one drop of cold-pressed jojoba oil into the skin surrounding all ten nails.
Unlike heavy mineral or petroleum oils that sit on the surface, jojoba oil is botanically a liquid wax ester whose small molecular chain closely matches human sebum. It absorbs directly into the microscopic channels of the nail plate, keeping short nails flexible when you apply strengthening treatments like builder gel (BIAB) on short nails.
Step 5: Lock in Moisture with Overnight “Nail Slugging”
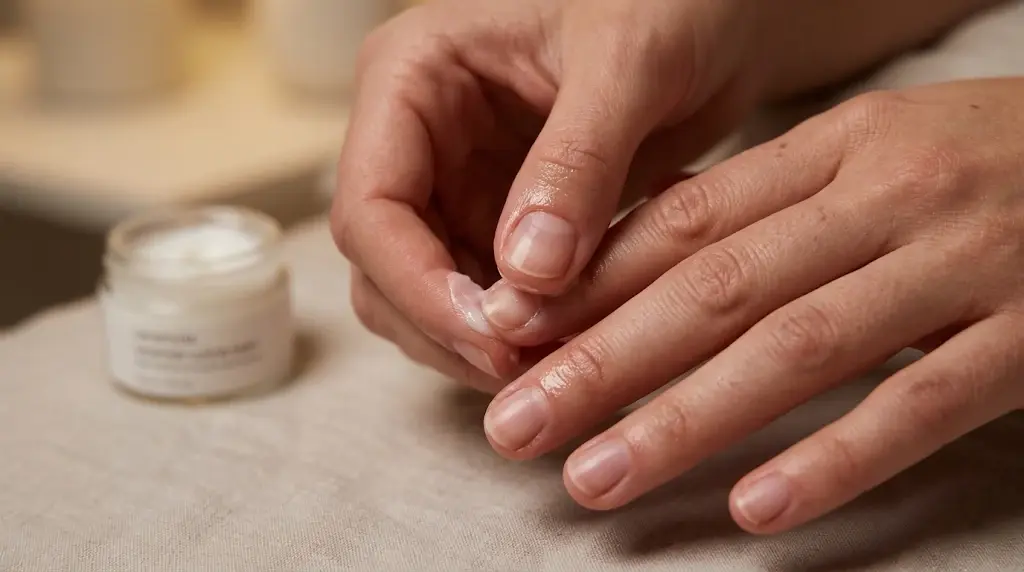
Cold winter air and frequent handwashing strip moisture from your fingertips within hours. Before going to bed, apply your jojoba oil first, then seal it under a pea-sized dab of thick ceramide balm, shea butter, or lanolin ointment.
This two-layer moisture sandwich prevents transepidermal water loss overnight. Consistent evening hydration keeps the skin around high-contrast manicures like rich espresso and chocolate brown short nails looking smooth and editorial rather than dry or flaky.
Cuticle Care Ingredients: What Actually Works on Short Nails?
Not every product labeled as a nail oil delivers real structural benefits. Use this ingredient breakdown when building your home care kit:
| Ingredient | Primary Role | Why Short Nails Need It |
|---|---|---|
| Pure Jojoba Seed Oil | Deep plate & fold penetration | Mimics natural skin sebum to stop brittle tips from snapping under pressure. |
| Squalane & Sweet Almond Oil | Surface softening & Vitamin E | Soothes dry lateral nail folds and prevents painful side-wall hangnails. |
| Ceramides & Shea Butter | Occlusive barrier protection | Locks lightweight oils inside the skin during cold weather and handwashing. |
| Urea (5% to 10% Cream) | Gentle daily keratolytics | Keeps hard, calloused skin on the sides of thumbs soft without nipping. |
3 Habits That Secretly Shrink Your Nail Beds
If your nail beds look shorter than they used to, one of these three mechanical habits is usually the culprit:
- Digging Under the Free Edge with Sharp Tools: Scraping underneath your nail tip with metal points detaches the pink nail bed (hyponychium) from the underside of the plate. Once that seal separates, the pink part of your nail recedes backward. Clean underneath short nails strictly with a soft nylon brush and soap.
- Cutting the Living Proximal Fold: Every time you trim the living arch of skin at the base, scar tissue forms, making the fold thicker and more noticeable while exposing the matrix to bacteria.
- Skipping Gloves During Wet Chores: Dish soap and hot water dissolve natural lipids out of both your skin and nail plate. Pair glove protection with our 7 science-backed steps to strengthen weak short nails for lasting resilience.
Once your cuticles are pushed back and hydrated, you can maximize your newly revealed plate using the visual styling tricks in our guide on how to make short nails look longer.
Frequently Asked Questions
Does pushing back cuticles really make short nails look longer?
Yes. Overgrown true cuticle can cover one to two millimeters of the base of your nail plate. Gently dissolving and pushing back that dead tissue immediately exposes the natural half-moon (lunula) and adds visible vertical length to short nails.
How often should I push back my cuticles?
Limit mechanical pushing and cuticle remover gels to once every 7 to 10 days. Between sessions, simply apply cuticle oil twice daily and gently nudge the skin back with a warm washcloth after showering.
Why do I get horizontal ridges on my nails after cuticle care?
Horizontal grooves occur when too much downward pressure is applied to the base of the nail with a metal pusher. Because the nail matrix lies directly beneath the proximal fold, pressing hard bruises the forming cells. Always hold your pusher at a flat 45-degree angle and use feather-light pressure.
